Part of my journey here on Brainpie is learning how to make dishes from scratch. Many of them will include the pest of American autumn: the pumpkin. Pies, cookies, pastries, bubble gum (if it doesn’t already exist, it will eventually). There’s nothing this hearty squash won’t invade when the calendar turns over to September, and I’ve fallen victim to the desire to inject it into my own food.
Like many American families, mine practiced the long and storied tradition of opening a can of artificially colored puree. While there’s nothing wrong with saving time and avoiding a workout, I want the experience of preparing my own pumpkin.
What better way to start by baking an actual pie pumpkin?
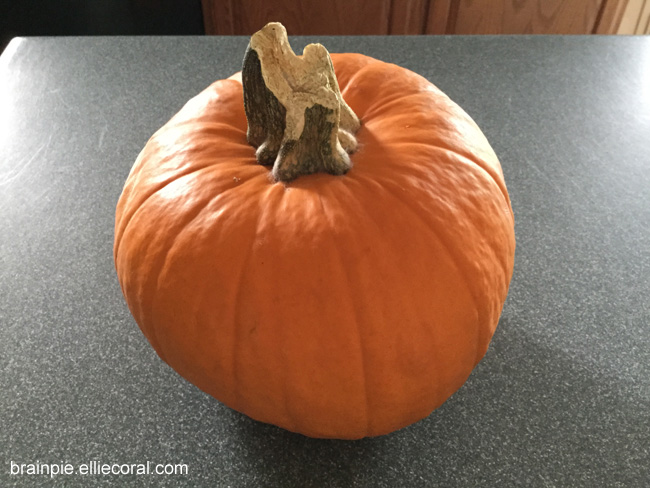
It looks like a stunted would-be jack-o’-lantern, but a cooking pumpkin is different from its carving cousin. Traditional carving pumpkins are typically bigger with thinner flesh and watery guts. If you live in a country where carving pumpkins is the norm for autumnal activities, you may have known the pleasure (or displeasure) of grabbing a handful of slimy, fibrous squash innards with seeds sliding all over your digits. You may have even seen cheap carving kits with itty-bitty carving blades as thin as once-folded aluminum foil. That’s how easy it is to cut these things.
Cooking pumpkins (also commonly known as sugar or pie pumpkins) are usually rounder and smaller, with thicker flesh and drier guts. I’m not kidding about the thick part, but we’ll get to that soon enough. I’ve heard you can eat carving pumpkins, but there’s not a whole lot of meat. The seeds are edible in either type, so make further use of your effort to gut these gourds.
If you want to read more about either type, the articles at She Knows and The Spruce are worth a glance. If you want to see how my first attempt turned out, keep scrolling.
First thing, wash and dry the pumpkin.
I’ve seen these things come fresh off the farm truck, and you don’t want to play the Livestock Fecal Matter or Plain Dirt guessing game.
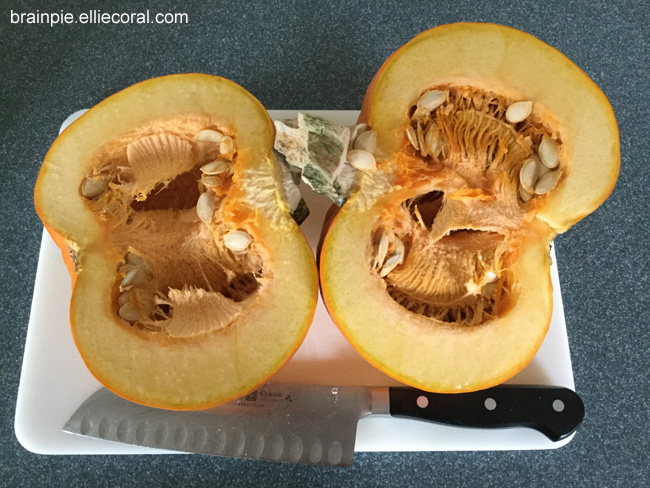
Cut the pumpkin in half.
Gads, this sucker was indeed hard to cut. You see that blade up there? I call him Finger Gazer, because I imagine him coveting my digits every time I use him. He likes to get stuck in tricky foods, and this pumpkin yielded his best opportunity. When the blade got stuck halfway cutting down one side, I gently rocked the blade, trying to ease it the rest of the way down. There wasn’t one second when I feared sending that menace straight into my chest or somehow flinging it upward and reversing it to slice through the fingers holding down the pumpkin. (Don’t doubt my ability to hurt myself in unusual ways. When I was eight, I once fell up five stairs while chasing my brother.)
But with a lot of patience and some gentle tugging, I slid the blade out. I tucked it back into the cut where I was able to gain better purchase and force it down toward the cutting board. I repeated on the other side, getting far enough that I could slip my fingers into the slice and pull the gourd apart. Only the stem and bottom part remained uncut by the blade, and I’m surprised that those areas ripped as cleanly as they did.
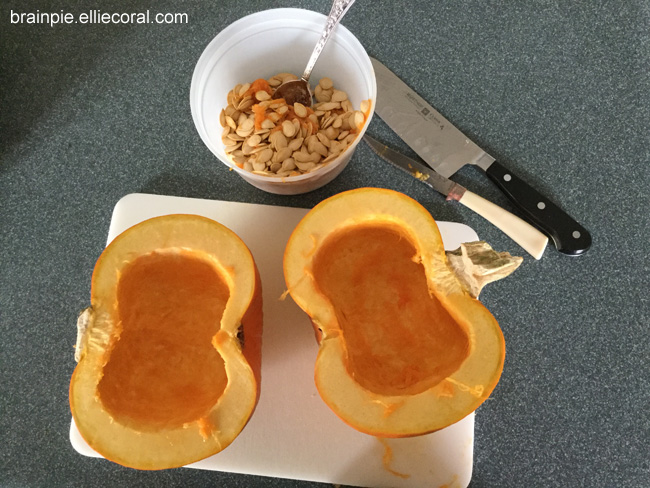
Clean out the guts and seeds.
It took a smaller knife, a spoon, and the always reliable arm power (I swear, I’ll have Michelle Obama arms by the time I retire this blog). Notice how the meat is thick? I estimated it at two inches on either side.
Obviously baking the pumpkin posed questions. Rather than wing it and potentially ruin the best pumpkin I was able to get my hands on, I found some directions on Elana’s Pantry.
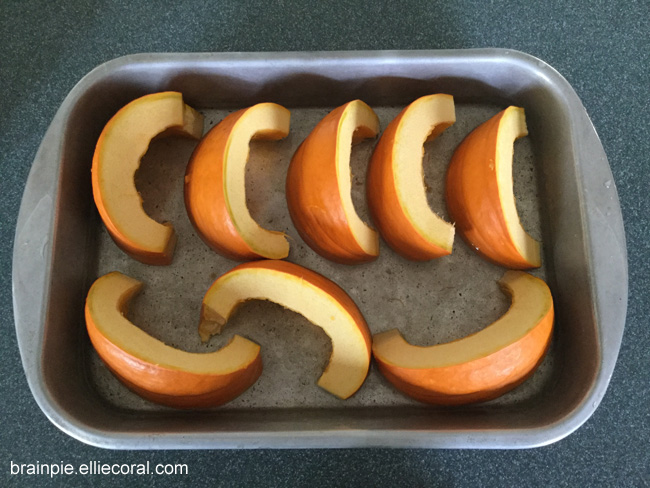
Lay pumpkin face side down in a large baking dish… Cover with 1/4 inch water.
After the directions, Elana mentioned that cutting the pumpkin into smaller pieces will help it cook faster. I’m an impatient sort, so I did that. It was easier to cut this time, probably because the halves provided supportive flat edges.
Bake at 350 degrees Fahrenheit for 45-60 minutes (depending on size) or until tender, using a fork to check.
As it baked, I caught a whiff of… well, I can’t quite describe the scent. Almost like fresh pumpkin pie without the spices. Very mild. This was the first time I’d smelled warmed pure pumpkin. During the forty-five minutes it baked, I caught the scent only twice.
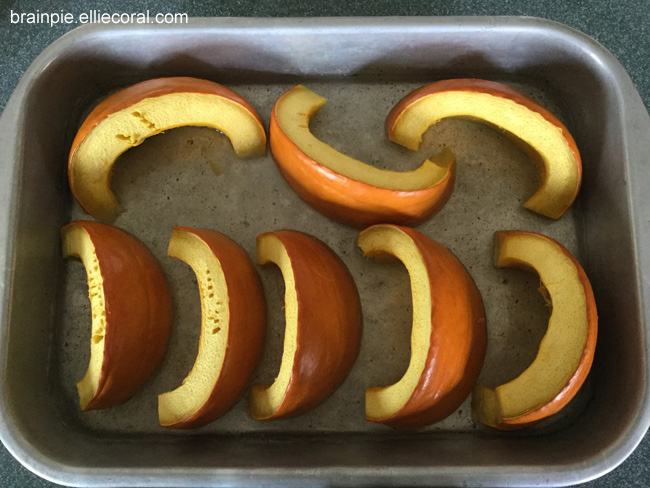
After the forty-five minutes were up, I tried flaking the pulp with a fork. The tines sank in without resistance and the pulp easily came away. It was done.
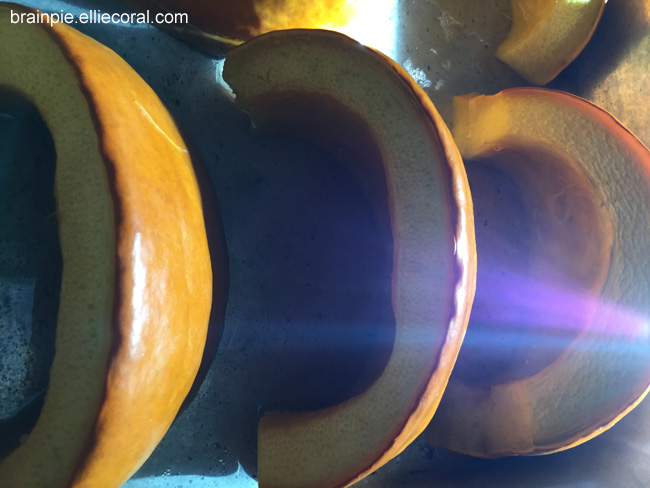
I like the natural effect the sunlight made here. That’s all.
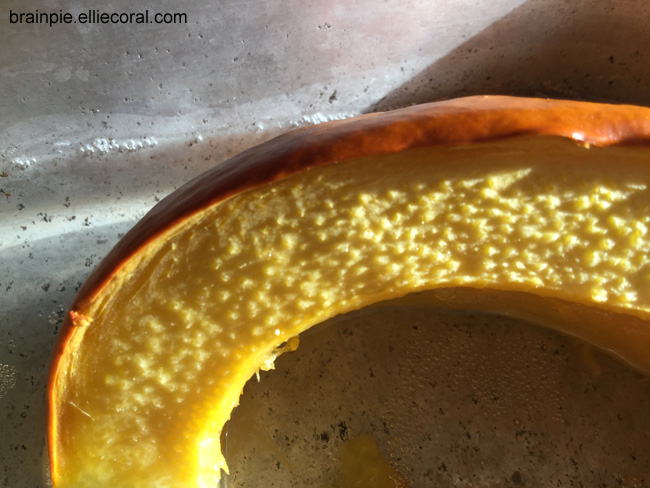
Notice how the meat shrank away from the edges of the skin; the skin itself curled slightly inward. While the meat did soak up some water from the bottom, it appeared that some minor dehydration occurred on top. No problem, as the fork didn’t lie. This was the perfect texture.
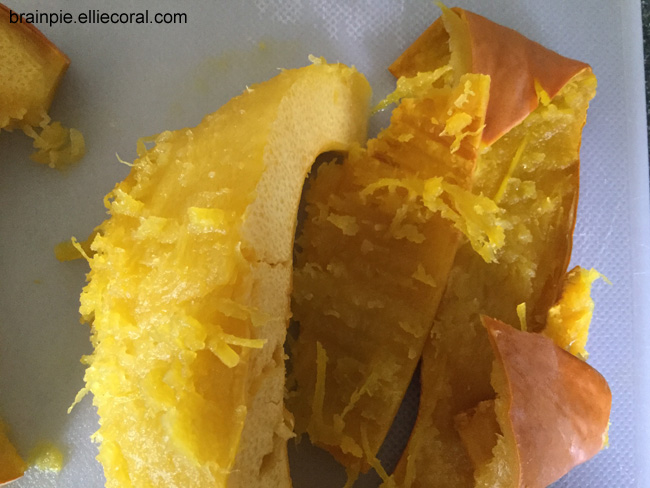
The skin was remarkably pliable. Scraping it off the meat was nothing with a fork. In fact, I tried it with my fingers and found it to be like peeling a banana. The skin did come off in pieces in this process, though, so going around the curve of the meat with a fork or spoon was the better option.
I cut the slices into smaller pieces for the blending process. Curiosity got the better of me, though, and I sampled a couple. The taste was very mild. In fact, I’d say that there’s almost no flavor. Maybe a hint of sweetness, similar to a drizzle of honey in plain water. Now I know why pumpkin spices are potent.
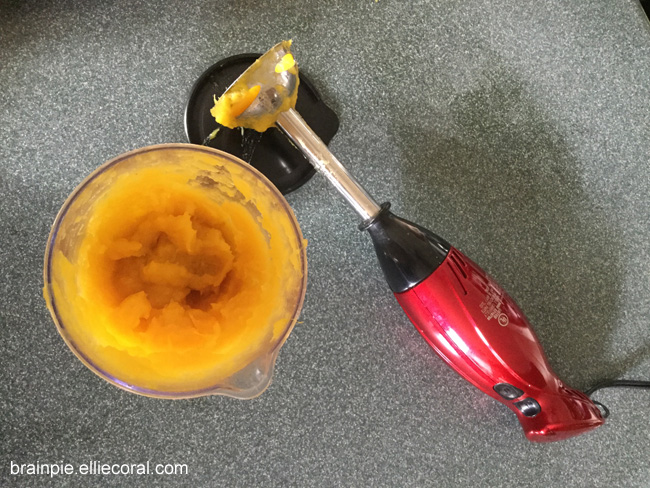
I haven’t used Betsy the immersion blender in a quite a while. Like all the other times I needed her for a task, she performed with flying colors.
Okay, I did have to blend a few chunks at a time because otherwise she’d overheat, but she still did a great job.
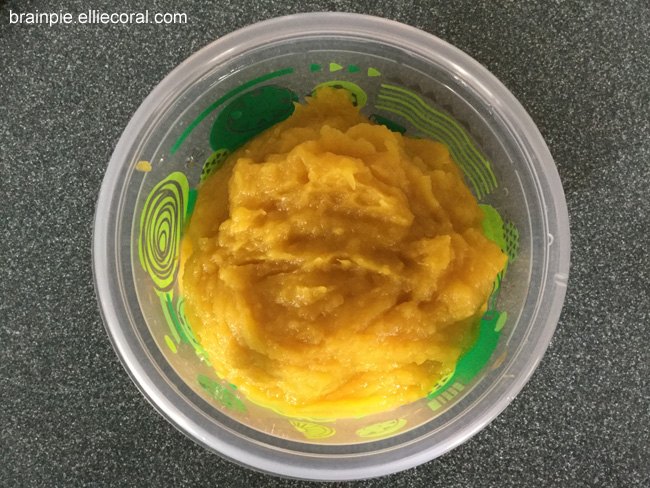
Look at that golden beauty. It was more vibrant in real life, but the minor photo manipulation is the best you’re going to get. According to the article on Elana’s Pantry, this will keep for five days in the fridge. If you’re not going to be using it any time soon, freeze it. Personally, I wouldn’t let it freeze for longer than two weeks.
As for the seeds, I never let them go to waste. You can eat raw pumpkin seeds, but I like mine roasted. Makes it easier to crack the shell.
If you’ve never roasted pumpkin seeds before, it’s dead simple. You could probably wing it and be okay, but if you’re unsure, just follow along.
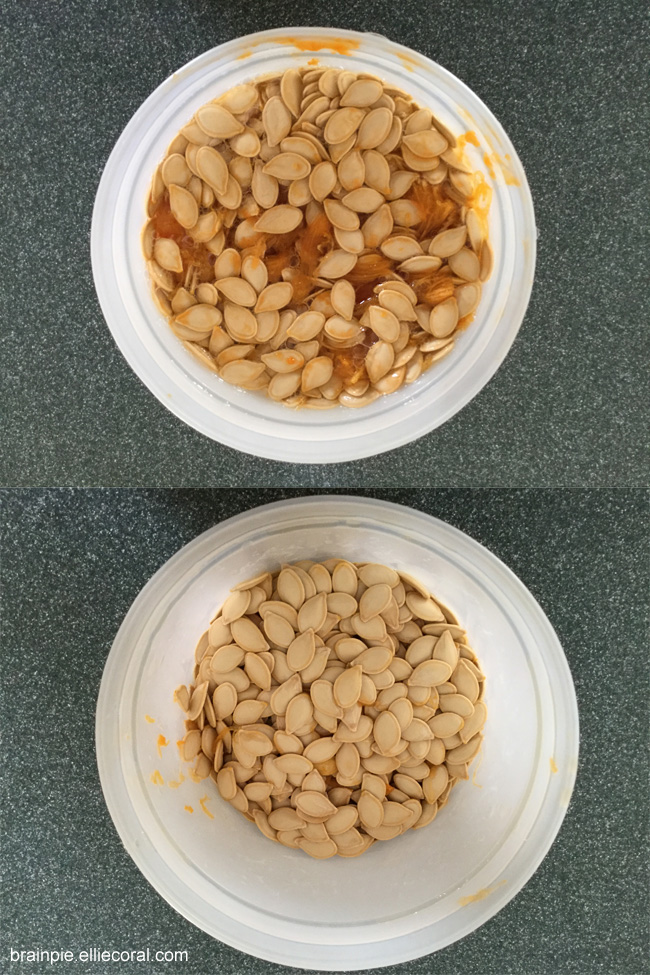
Soak seeds in water and separate from slime.
The top photo shows the seeds soaking in water. I’ve never enjoyed separating the seeds from the slime, so I tried an experiment. After several minutes of soaking, I did my best claw machine impression and grabbed as many seeds as possible. I shook my fingers gently, putting claw machines everywhere to shame by not dropping my prize. The slime separated like magic. I don’t know if this will work for carving pumpkin seeds as they’re covered in stickier goop, but it’s worth a shot.
Arrange the seeds on a baking sheet. Season with salt, sugar, or other desired spices.
Well, more like spread them out the best you can so they can evenly bake. There’s no need to actually arrange them and try to be fancy. Some people like their pumpkin seeds flavored, but I prefer mine naked.
I’ve heard some people pat the seeds dry before baking them, but I’ve never seen a need for it, since the water evaporates in the oven anyway.
With the oven at 350 degrees Fahrenheit (175 degrees Celsius), bake the seeds for 15 minutes or until the edges of the shells are slightly golden brown.
I was winging it here, but fifteen seemed like a good number.
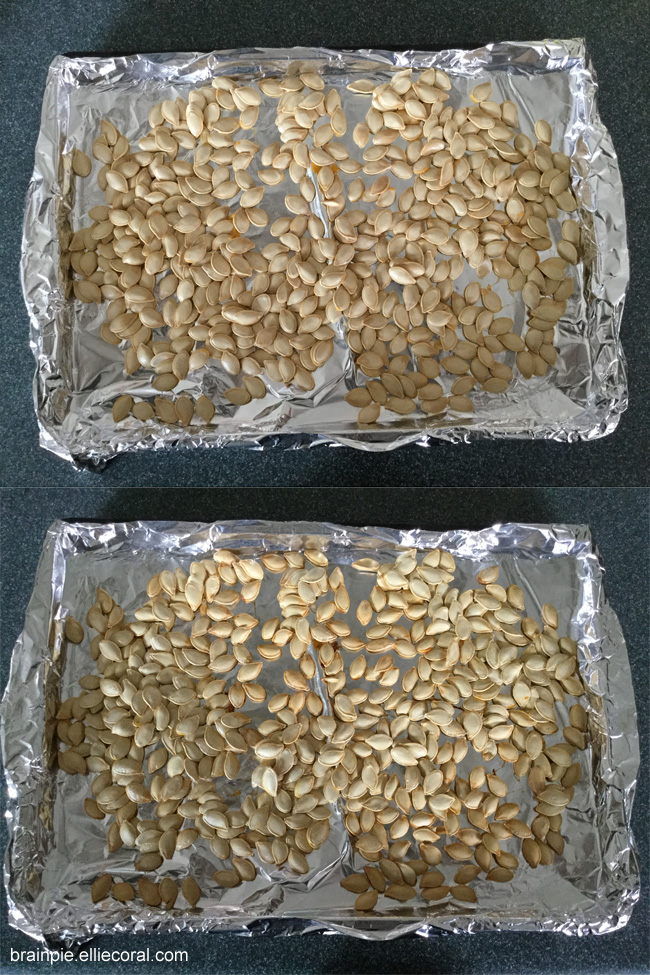
Yeah, I know there’s not much of a difference between the before and after images, but I thought I’d still show them.
They were cracking good. Literally. Popping the seeds out from a dented shell held between the teeth is a small pleasure, but it’s better when the prize is a perfectly roasted, nutty morsel.
As gratifying as it was to bake a pumpkin, I now understand why people go for the canned stuff. Still, I wouldn’t mind doing this every year, keeping a steady supply of homemade puree to last the fall and winter months. But maybe instead of using Finger Gazer, I’ll see if chunking does a safer job.